Welcome to my .py series where I take you through what I learn weekly at She Code Africa Mentorship program Cohort 2-Python track. You can check below for other episodes.
In this episode, I will be taking you through creating a Django model.
A model in Django is what handles or maintains your data in form of a database. Models deal with database operations like creating and updating tables, fetching, and updating data.
A model is the single definitive source of information about your data. It contains the essential fields and behaviors of the data you're storing, each model maps to a single database table. .......Django docs
In this article, I will be taking you through:
How to create a model
How to create a superuser
After creating an app in your Django project, a model is necessary to manage the data in the app. Remember Python is an object-oriented language and Django is a python framework so the programming paradigm applies here.
In this case, we are going to be creating an Article model for the blog app created in the previous article. An article object will have properties right which includes title, text, and author's name depending on your preference.
Following these steps:
- Open the app_name/models.py file in the code editor, in this case, blog/models.py and create a model following this pattern:
# import django models class
from django.db import models

# import in built-in user model
from django.contrib.auth.models import User

# Create your models here.
class Article(models.Model):
    # attributes of the model defined
    title = models.CharField(max_length=20)
    text = models.TextField()
    date_created = models.DateTimeField(auto_now_add=True)
    author = models.ForeignKey(User,on_delete=models.CASCADE)

    def __str__(self):
        return self.title
def str (self) is used to return a name for an object created using a particular model class.
2) Next, we have to tell Django a model has been created so it can add our changes. Run the following command in your terminal:
# create the migrations

python manage.py makemigrations

# commit the migration

python manage.py migrate
3) Next is registering the model on the admin.py file so the blog app will be modifiable and show on the admin page. Opening the blog/admin.py file and put the code:
# import admin utility
from django.contrib import admin

# import Article model
from .models import Article

# Register your models here.

admin.site.register(Article)
4) Following the steps above, you'd be able to see the Article model on the admin site but to access the admin site, it needs a superuser log in detail. To create a superuser, run this command:
# create superuser

python manage.py createsuperuser
This command will prompt you to fill in a username, email address, and password, after which you'd get a message: superuser created successfully.
5) You can now run a server to look at the model created.
python mange.py runserver
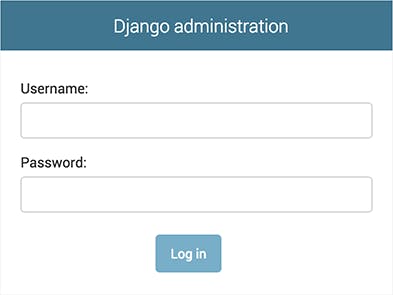
Run the HTTP address in your web browser adding \admin. You should see a page like this, then you log in with the details of the superuser.

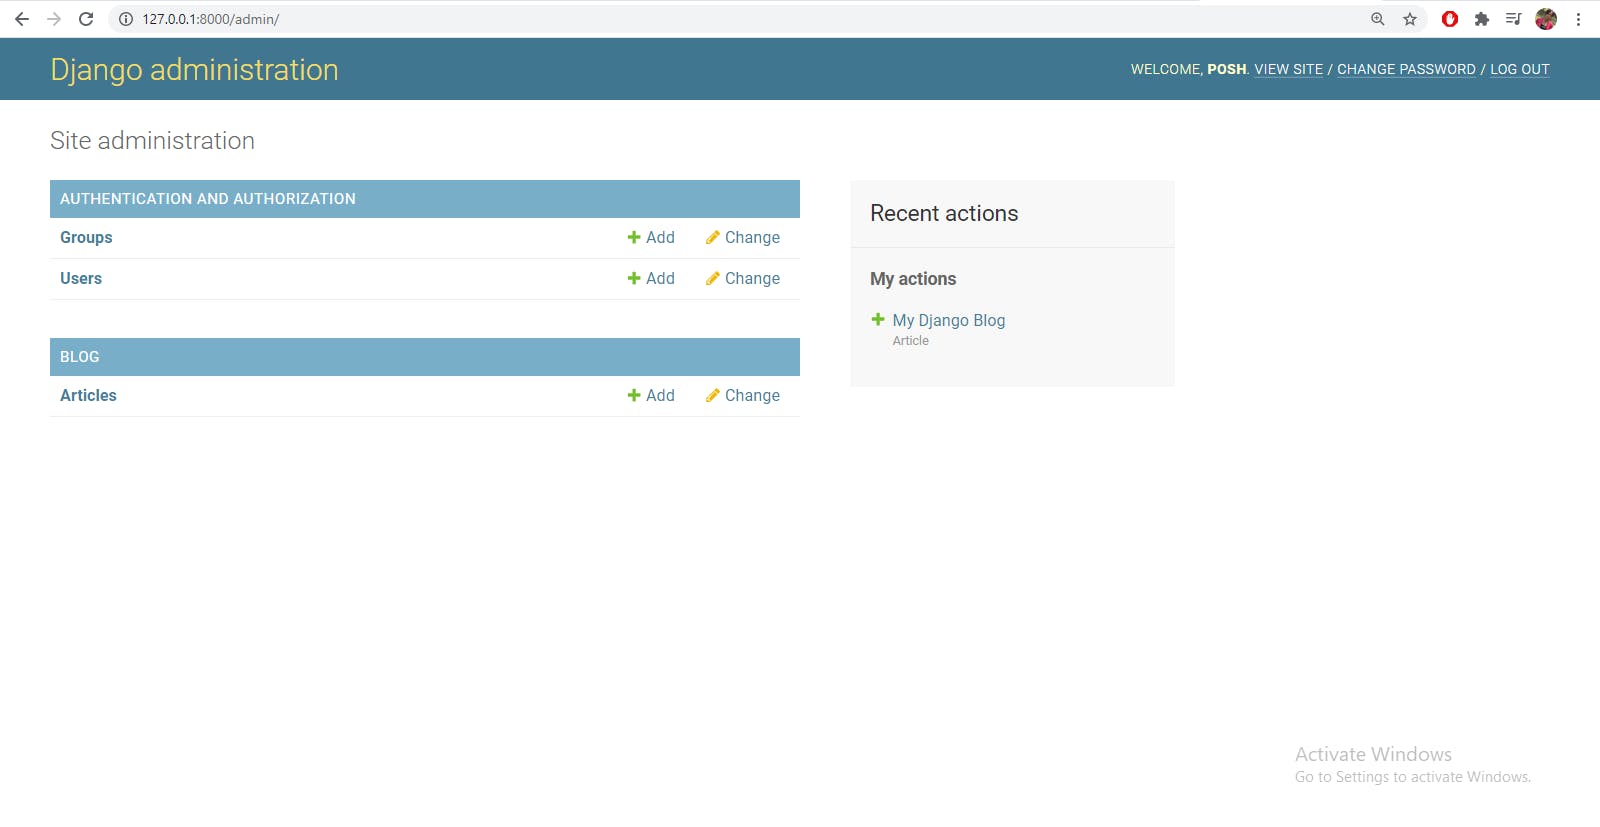
The admin page should look like this having group, users, and blog with the article model. You can also fill in data from the admin end.

Congratulations! you have successfully created a model.

Thanks for reading! Feel free to check the next article where I'd be adding cool templates to the blog app.

