The beauty of building an app or a website is appreciated when others are able to see and view it from their end. Deploying an application means putting it on a web server so it can be used through the internet. The goal of deploying is to make it available for end-users. The aim of this article is to show you how to deploy a Django app with Heroku using the GitHub method.
What is Heroku?
Heroku is a platform as a service that enables developers to build, run, and operate applications entirely in the cloud. Developers use Heroku to deploy, manage, and scale modern apps.
Steps to Deploy a Django App on Heroku
Step 1
Create an account on Heroku

Step 2
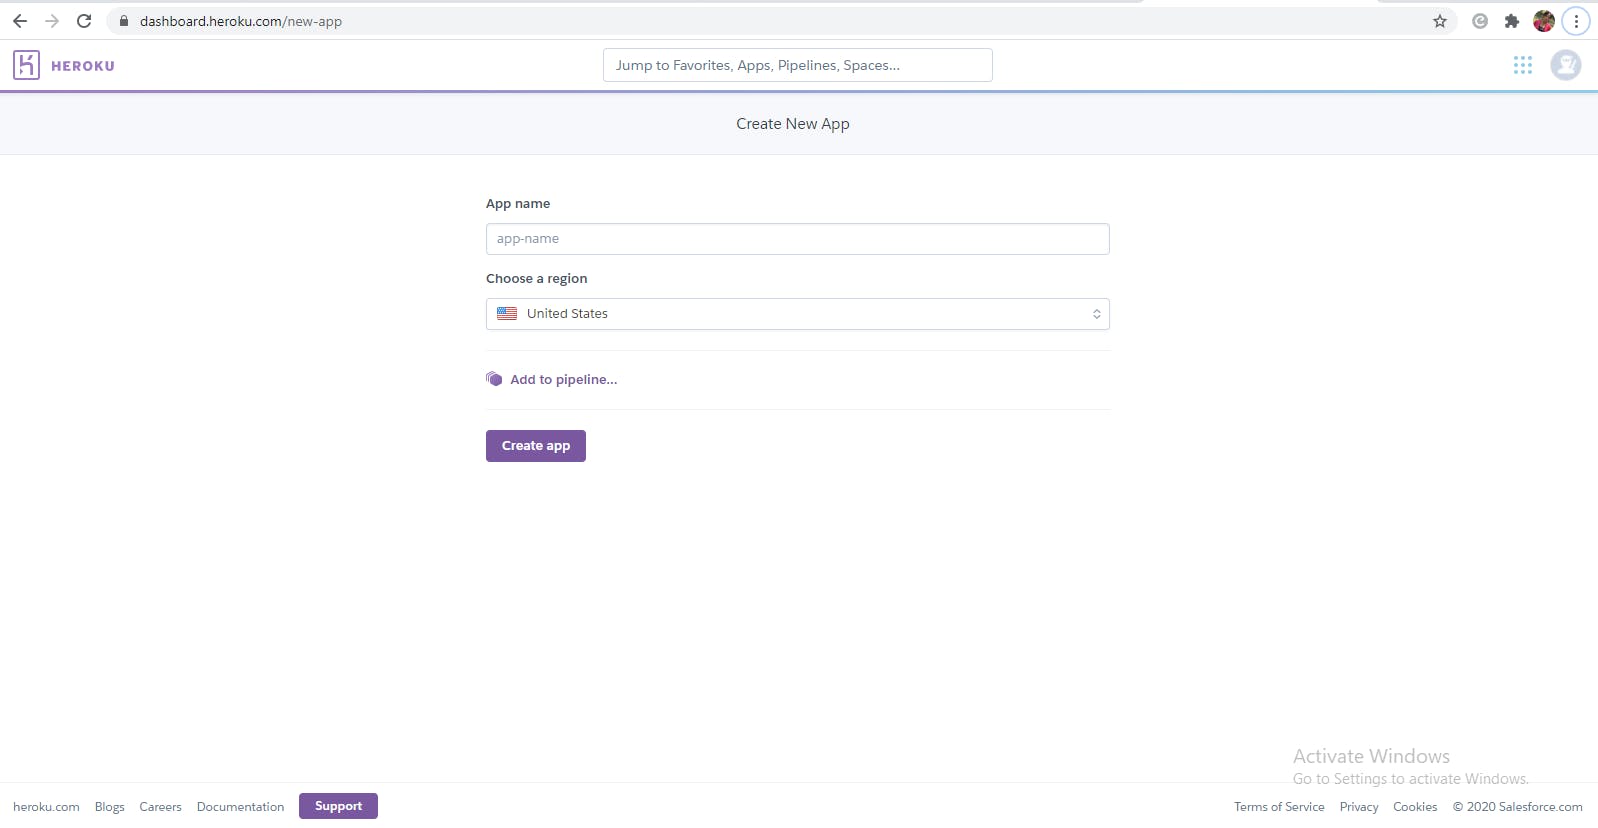
Create a new app in your Heroku account with a preferred name

Step 3
Get the prerequisites ready for deploying a Django app to Heroku
- Install Gunicorn and Whitenoise
pip install some-package
Gunicorn (Green Unicorn) is a WSGI (Web Server Gateway Interface) server implementation commonly used to run Python web applications
WhiteNoise allows your web app to serve its own static files, making it a self-contained unit that can be deployed anywhere without relying on Nginx, Amazon S3, or any other external service.
- Requirements.txt file: Adding this file lets Heroku know the dependencies it needs to make the project work. To set up the file, run this command:
pip freeze > requirements.txt
When you deploy to Heroku, the dependencies you specify in your requirements.txt file are automatically installed before the app startup.
- Runtime.txt: This file tells Heroku the version of Python to use as specified. So create a runtime.txt file and add the python version you are working with.
# Create runtime.txt file
# Add your python version
python-3.8.1
- Procfile: A Procfile is a Heroku file that specifies the commands that are executed by the app on startup.
# Create a Procfile ( no extension)
# Specify the process type
web: gunicorn appname.wsgi --log-file -
Some additions in the settings.py file
- Add the Heroku app domain name in the allowed host section and also your local server too
Set Debug to False since it's going on a server
Configure the Static root
STATIC_ROOT = os.path.join(BASE_DIR, 'staticfiles')Set up Whitenoise middleware so Heroku will be able to serve the static files
  # Add this to the middleware section
      'whitenoise.middleware.WhiteNoiseMiddleware'
Step 4
Set up a build pack for the Heroku app. Go to the Heroku app settings, click on add buildpack and specify Python since it's a python app.

Heroku Buildpacks are sets of open source scripts that are used for compiling apps on Heroku. Buildpacks enable you to extend Heroku's build system to support your language or customizations, or to make particular binary packages available to the runtime.
- Heroku docs
Step 5
Set up a GitHub repository and upload the Django app source code on Github
Step 6
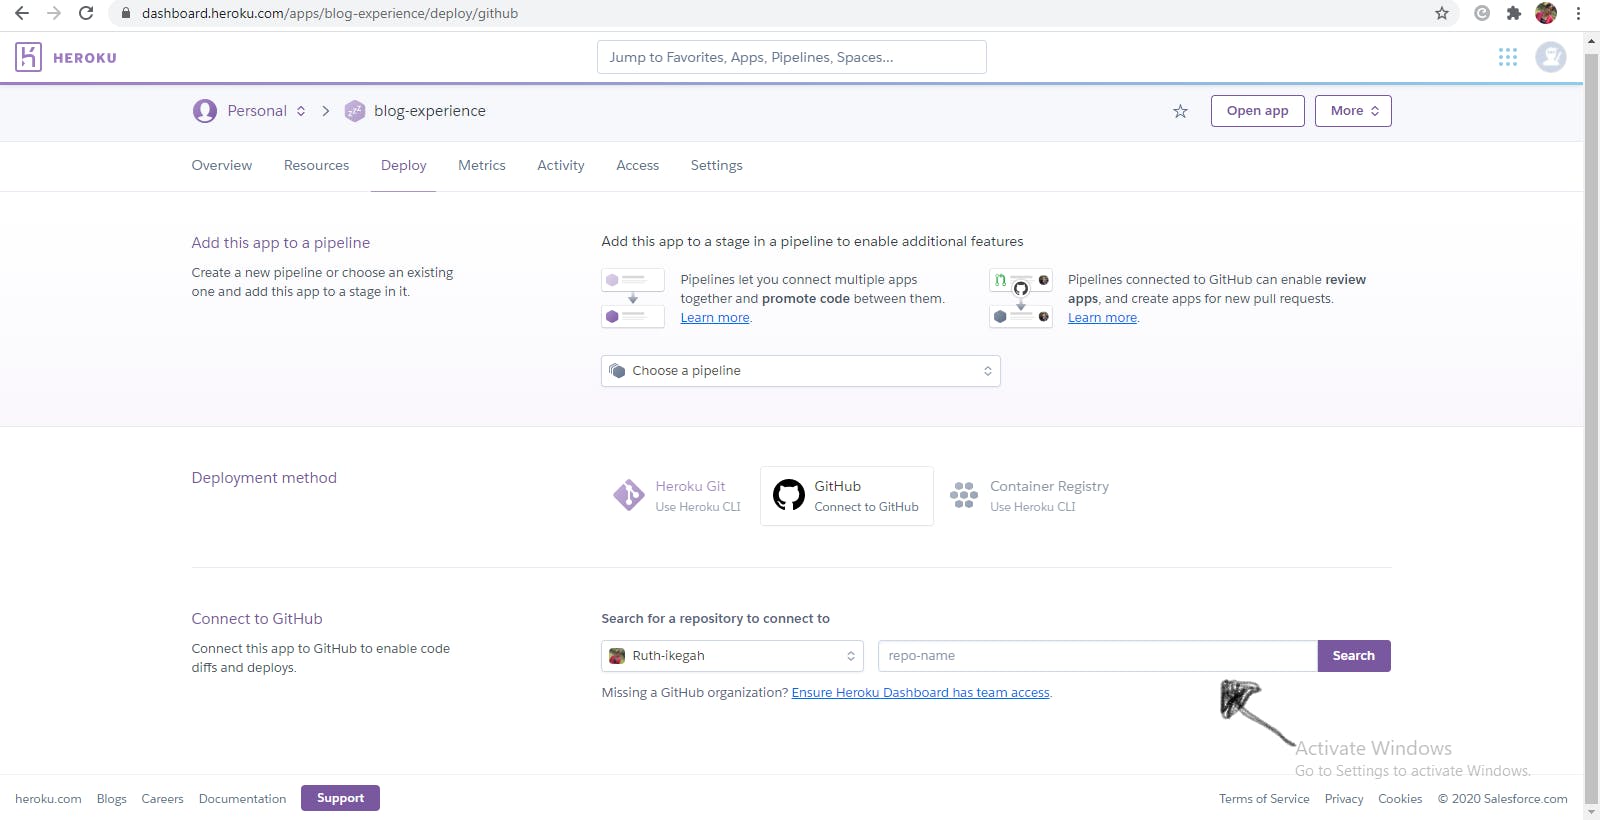
On the Heroku app, choose the GitHub deploy method. Then search for the repository and connect to it.

Step 7
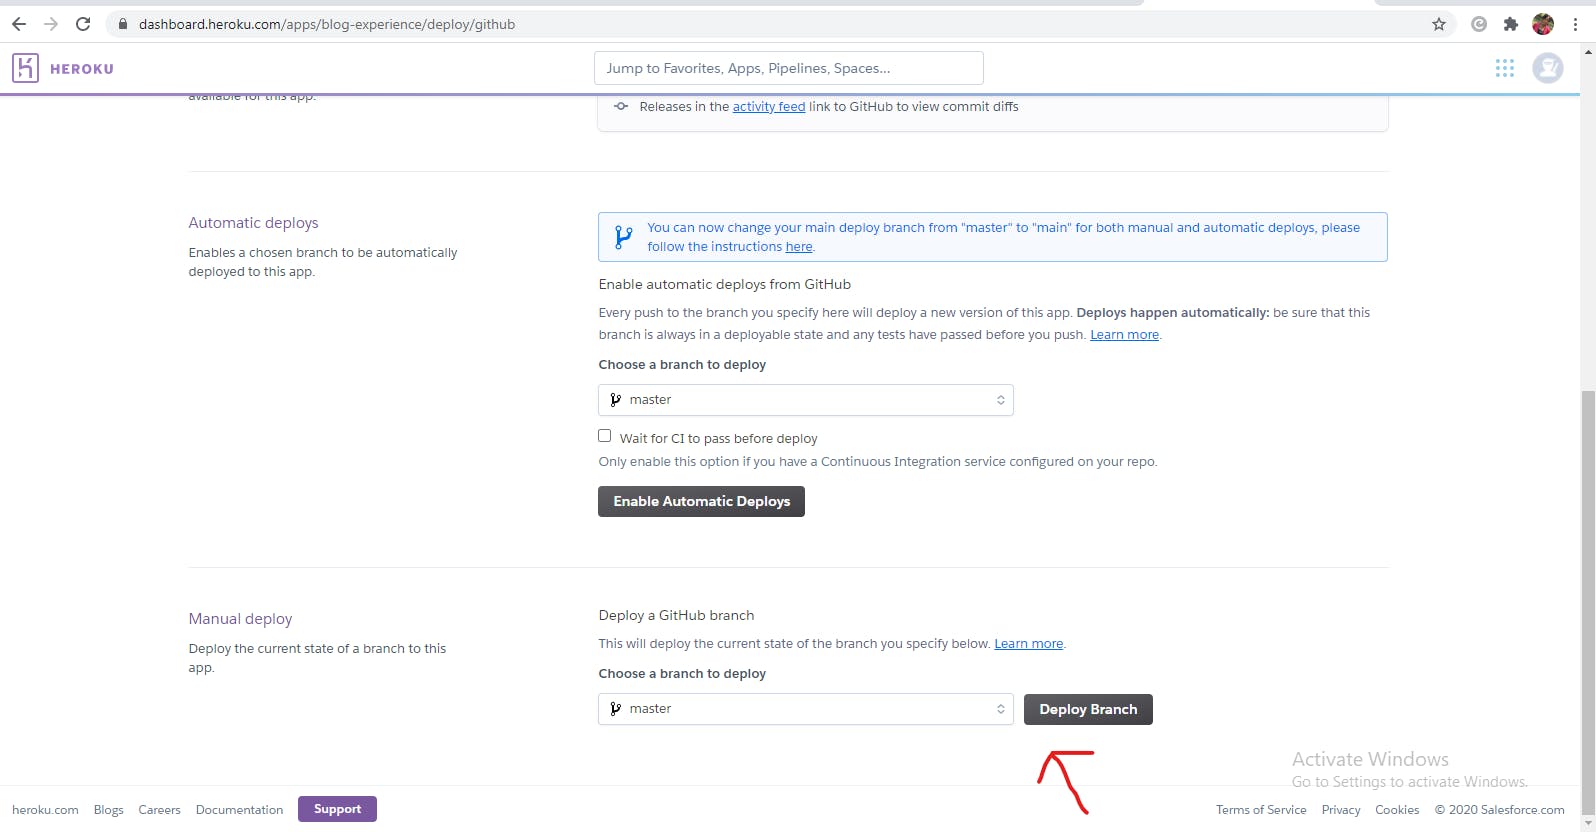
Once you are sure you set all the prerequisites correctly, you click on deploy branch.

Step 8
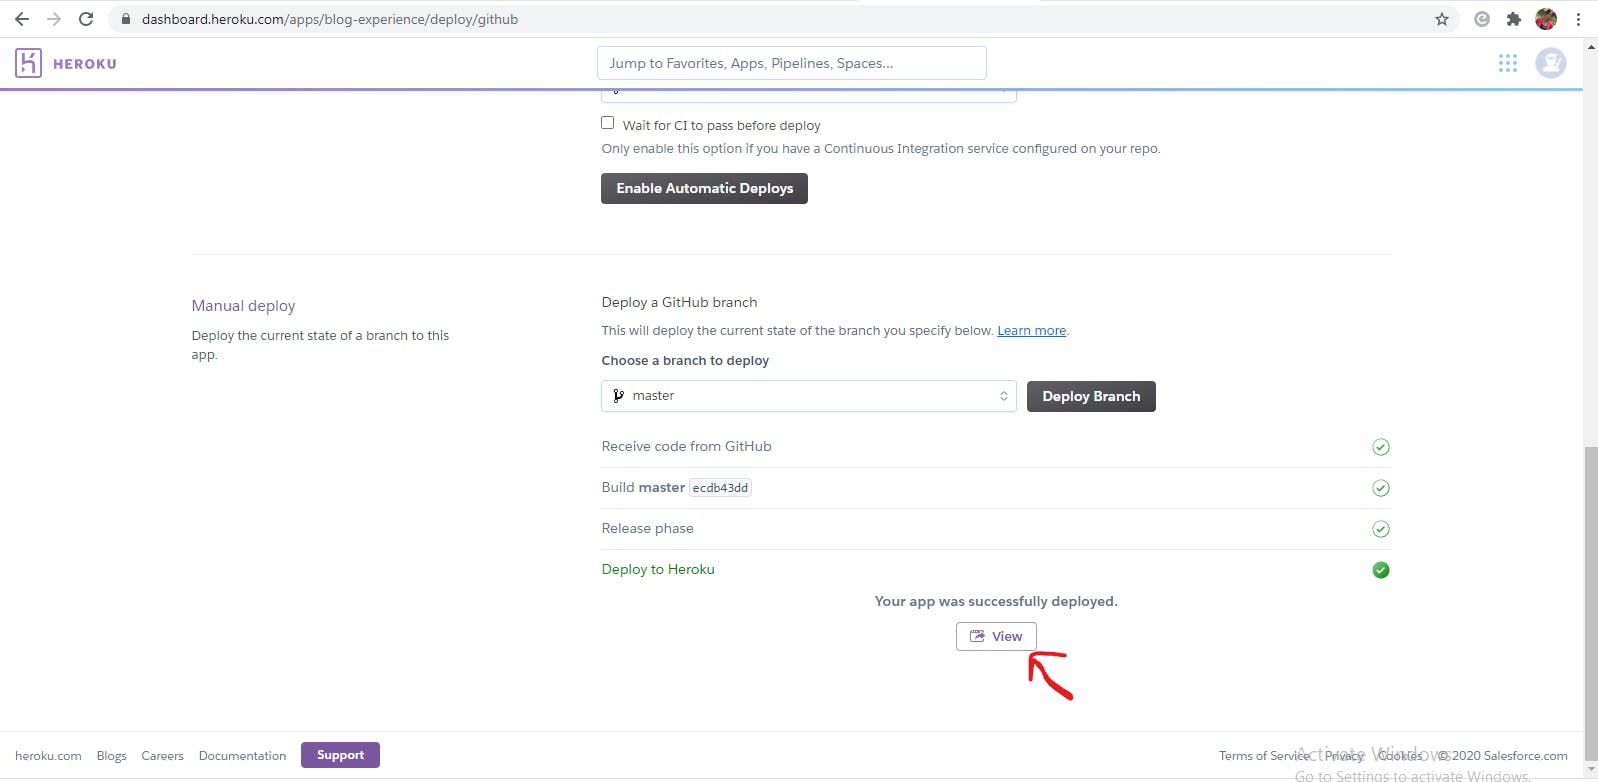
Then your app is ready to view and accessible from the Heroku app domain name.

This is a run-through of how to deploy a Django app to Heroku with the GitHub method. Just in case you want to try out the Heroku CLI method, you can check this simple youtube tutorial on how to get it done.
Thanks for reading!

